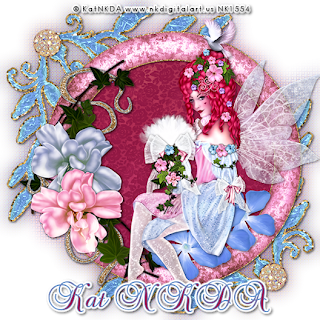
Richness
This tutorial was written
by Sarah Fiack on
March 26, 2010.
Any resemblance to another
tutorial is purely coincidental.
For this tutorial, I’m using
The art of Kat NKDA
You need a license to use
The art can be purchased at
Her site here
Supplies
Tube of choice
Scrap of choice
I’m using one by KatNKDA called
Antoinette
It is a PTU kit.
1) Open a 600x600 new image.
Choose a frame of choice.
Resize 20% .
Paste as new layer.
2) Select inside frame with magic wand.
Hold shift down to select mulptiple areas.
Selections modify expand 5.
3) Open paper of choice.
Resize 25% or as needed.
Paste paper as new layer.
Selections invert & press delete.
Move under frame.
Select none.
4) Resize tube 88% twice.
Paste as new layer.
Add a drop shadow
2,2,50,5 black
5) Choose a corner frame element.
Resize 75%.
Paste as new layer & postion in layer palette
Above the background layer.
Duplicate once.
Mirror & flip.
Drop shadow both.
6) Take a flower tube.
Resize by 25% once & 50% twice.
Paste as new layer.
Position as if the main tube is having a seat on it.
Duplicate twice.
Move the two copies alongside the flower & under the tube.
Drop shadow the flowers.
7) Merge all layers visible.
Resize 88%.
Duplicate once.
On the bottom layer,
Adjust blur gauassian 15
Effects texture weave
2,3
8) Add copyright info & name.
Save as jpeg or png.
Thanks for trying my tutorial.

No comments:
Post a Comment