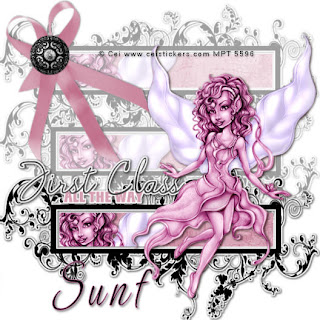
First Class
This tutorial was written
by Sarah Fiack on
Oct. 17, 2009
Any resemblance to another
tutorial is purely coincidental.
For this tutorial, I’m using
The art of Cei
You need a license to use
the art which can be purchased
at Mypsptubes
Supplies:
Tube of choice.
Scrap of choice.
I’m using a free kit by
Urbanfairytales called
Classic Mini
here
Font is Ephesis
1) Open a white 600x600 new image in psp.
Copy & paste frame of choice from kit.
Resize if needed.
2) Select inside the frame with magic wand.
Go to selections modify expand by 2
Open paper of choice & paste as new layer.
Selections invert delete.
3) Move paper under the frame layer
But keep selected.
Paste your tube as new layer.
Position in a corner of the frame as desired.
Press delete.
Select none.
4) Add a drop shadow to the frame & tube layers.
I used 2,2, 50,5 black.
X out the white background layer.
Merge visible the other layers.
Un’x out the white background.
Resize the merged layer by 88%
On the merged layer, duplicate 3 times.
5) X out the top copy layer of the merged ones.
6) Arrange the bottom 3 layers
On top of one another so they appear
Sorta stacked but make sure to line
Them up even.
Merge the 3 layers together.
Lower the opacity on them to about 50%.
7) Un’x the top layer & postion near the bottom
Of the tag.
Paste your tube as new layer.
Arrange so its on the bottom top frame layer.
Add earlier drop shadow.
8) Open your ribbon tube.
If needed use your raster deform tool
To turn the ribbon so its towards the left.
Resize by 85% and drop shadow it.
9) Open a button & resize 60%.
Paste as new layer & arrange on top of ribbon.
Add drop shadow to it.
Resize all layers 85%.
Paste wordart of choice.
Resize 70% or as needed.
Move wordart layer to under tube layer.
Add drop shadow.
10) Merge all layers together.
Add copyright info & name.
Thanks for trying my tutorial.

No comments:
Post a Comment